Introduction
Flashing software on an LCD controller can sound complicated, especially if you have never worked with firmware or electronic boards before. However, the basic process becomes much easier when you understand what the controller does, how to identify the correct firmware, and which flashing method your board supports.
If you are searching for how to flash software on an LCD controller, the most important thing to know is that there is no single firmware file or method that works with every LCD controller. The controller board, LCD panel, flash-memory chip, resolution, interface, and hardware revision all matter. Using the wrong firmware can cause a blank screen or even make the controller unusable.
This guide explains the complete process in simple terms. You will learn how to identify your LCD controller, check compatibility, choose firmware, create a backup, flash the software using USB or SPI, verify the result, and troubleshoot common problems. The goal is not simply to flash firmware, but to do it carefully and reduce the risk of damaging the board.
What Is an LCD Controller?
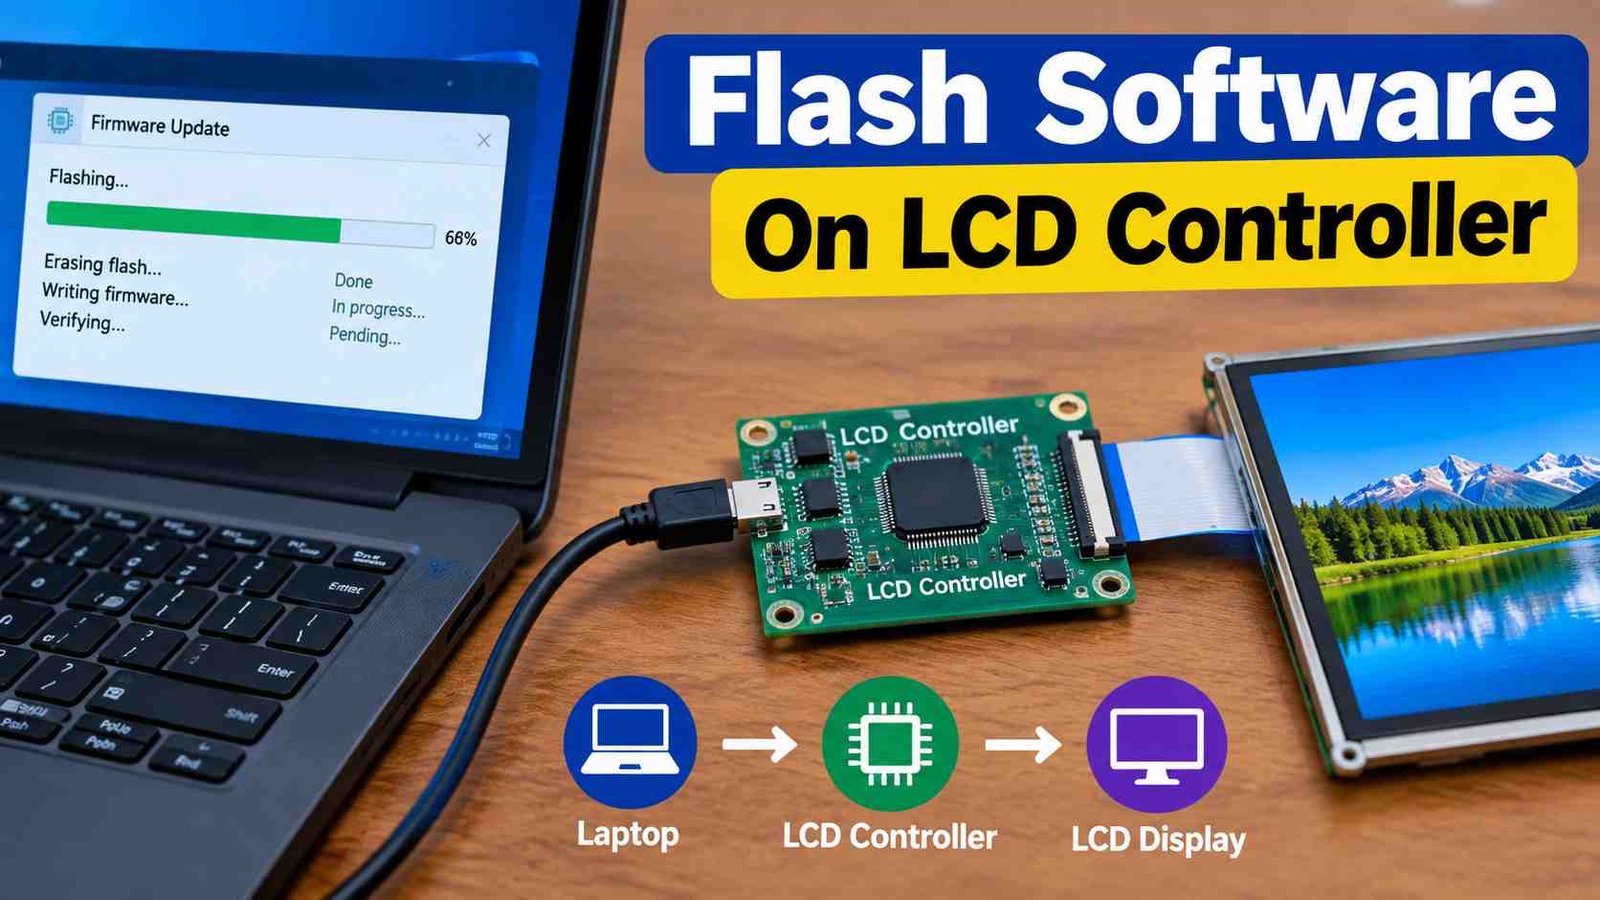
An LCD controller is the electronic board that allows an LCD panel to receive and process video signals. It sits between the video source, such as a computer, media device, or other input, and the LCD panel itself. The controller manages important display functions, including resolution, panel timing, image processing, input selection, backlight behavior, and often the on-screen display (OSD).
It is important to understand the difference between an LCD panel and an LCD controller. The panel is the actual display hardware that produces the image, while the controller board contains the electronics that communicate with and control that panel. When people talk about flashing an LCD, they are usually talking about updating the firmware stored on the controller board rather than changing the LCD glass itself.
Firmware is generally stored in non-volatile memory on the controller. Depending on the board, this may be a dedicated flash-memory chip. Common examples of markings found on some SPI flash chips include 25Q32 and 25Q64, although the exact memory device varies from board to board.
Before attempting an LCD controller firmware update, identify the board model and panel model. This information is much more important than simply knowing the screen size.
Why Do You Need to Flash an LCD Controller?
There are several reasons why someone may need to flash or update LCD controller firmware. A controller may have corrupted software, incorrect configuration, compatibility problems, or a firmware bug. In some cases, a replacement LCD panel may require different settings from those stored in the existing controller.
One common symptom is a blank or black screen. However, a black screen does not automatically mean the firmware is the problem. A loose cable, damaged component, incorrect power supply, or failed LCD panel can create similar symptoms. Firmware flashing should therefore be considered only after basic hardware checks.
A white screen can also be related to incorrect panel configuration, timing, or LVDS settings. Other problems may include an incorrect resolution, flickering, strange colors, missing inputs, or controls that do not work correctly.
Firmware can also be updated when a manufacturer provides a newer version that fixes a known problem or adds compatibility for a particular panel. However, installing a newer firmware simply because it exists is not always a good reason. If the display is working correctly, an unnecessary firmware change may create more problems than it solves.
The safest approach is to identify the actual problem first and determine whether firmware is genuinely responsible.
Identify Your LCD Controller Before Flashing
Correct identification is the most important part of how to flash software on an LCD controller. Never select firmware based only on the fact that two controller boards look similar.
Start by examining the controller PCB. Look for a board model, PCB number, revision number, manufacturer name, or other printed markings. Also identify the main controller IC. Some boards use controller families such as RTD2660, RTD2662, MSTAR, or V59/TSUMV59, but the exact chip and board revision still need to be confirmed.
Next, identify the LCD panel. Find its model number on the label attached to the rear of the panel. Record its native resolution, interface type, voltage requirements, and other available specifications. These details help determine whether the controller firmware is appropriate.
You should also identify the flash-memory chip if you plan to use an SPI programmer. Read the markings carefully rather than guessing the chip type. The memory capacity and device type can affect whether a firmware image is suitable.
Finally, compare the controller board revision with the firmware documentation. Two boards with almost identical names can use different firmware because their hardware revisions, panel configurations, or memory devices differ. Taking photographs and recording all model numbers before flashing can save considerable time if something goes wrong.
How to Find the Correct LCD Controller Firmware?
Finding the correct firmware is more important than finding the newest firmware. Ideally, obtain the software from the controller manufacturer or another trusted source that clearly identifies the compatible board and panel.
Start with the exact controller-board model. Then compare the hardware revision, main controller chip, LCD panel model, resolution, interface, and flash-memory configuration. Do not assume that firmware for a similar-looking board will work on yours.
Firmware packages can use different file formats, including BIN, HEX, ROM, or IMG, depending on the controller and programming method. The file extension alone does not prove compatibility. A BIN file intended for one controller can be completely unsuitable for another controller.
If documentation provides a version number, file size, checksum, or hash, compare those details before programming. Keep the original firmware file in a safe location and, when possible, make a backup of the firmware already installed on the board.
Avoid random firmware downloads when the source does not identify the board or explain compatibility. An incorrect firmware image can result in an unusable controller. If you cannot establish that the firmware matches your exact hardware, it is safer to stop and verify the information before continuing.
What Tools Do You Need to Flash an LCD Controller?
The equipment required depends on the controller and the flashing method it supports. Some boards can be updated through a USB port, while others require direct programming of a flash-memory chip.
| Method | Typical Equipment | Difficulty |
| USB | USB drive and supported controller | Beginner |
| SPI | SPI programmer and suitable connections | Intermediate |
| UART | USB-to-UART adapter | Advanced |
| JTAG | JTAG programmer/debugger | Advanced |
| Manufacturer tool | Dedicated programming equipment | Varies |
USB is usually the simplest option when the controller has a supported firmware-update function. The manufacturer may specify a particular file name, USB format or update procedure.
SPI programming provides more direct access to the flash memory. It can be particularly useful when normal USB updating is unavailable or when a controller needs recovery. However, it requires more care because incorrect wiring or voltage can damage electronic components.
Arduino, UART, and JTAG methods should only be used when the particular controller supports them. There is no universal Arduino or UART procedure for every LCD controller. Always follow the programming requirements for the specific hardware.
How To Flash Software On LCD Controllers Using USB?
If your controller supports USB firmware updates, this is often the easiest method for a beginner. First, confirm that the firmware is specifically intended for your controller and panel combination. Then prepare a suitable USB drive according to the controller manufacturer’s instructions. Do not assume that every controller uses the same file system or file name.
Copy only the required firmware file to the USB drive. Some controllers require a specific file name or folder structure, so follow the documentation supplied with the board.
Connect the LCD panel and controller as required, insert the USB drive, and start the update process. Depending on the controller, the update may begin automatically or require a menu option or button combination.
Once the update starts, do not remove the USB drive or interrupt power. A failed or interrupted write can leave the controller unable to boot normally. Wait until the controller indicates that the process has finished.
After completion, restart the controller and check the display. Test the native resolution, colors, brightness, OSD controls, and available inputs. If everything works correctly, record the firmware version for future reference.
If the USB drive is not detected or the firmware file is rejected, do not repeatedly try random files. Recheck the board model, firmware requirements, USB format, file name, and compatibility first.
How To Flash LCD Controller Firmware Using an SPI Programmer?
SPI programming is useful when a controller supports direct access to its flash memory or when a normal firmware update has failed. This method is more technical, so beginners should work carefully and verify every connection before applying power.
First, locate the SPI flash chip on the controller board and identify its exact part number. An SPI flash chip commonly has pins associated with power, ground, clock, chip select, and data signals. The exact pin arrangement depends on the chip, so use its datasheet or reliable board documentation rather than guessing.
Before writing anything, make a backup of the existing firmware if the programmer can read it. Save the backup under a clear file name and keep multiple copies. This gives you a possible recovery path if the new firmware does not work.
Connect the programmer according to the flash-chip requirements. Pay particular attention to voltage. Using an incorrect voltage can damage the flash chip or other components on the board.
Once the programmer detects the memory device, the typical process involves reading the original contents, erasing the memory when required, loading the compatible firmware, writing it, and then verifying the written data. Do not disconnect the programmer while a write or verification operation is running.
After verification succeeds, disconnect the programming equipment safely, reconnect the controller, and test the LCD. If the controller does not work afterward, restore the original backup rather than repeatedly experimenting with unrelated firmware.
How to Verify and Troubleshoot the LCD Controller?
Successfully completing a flashing program does not necessarily mean the LCD controller is working correctly. After the update, perform a complete test rather than checking only whether an image appears.
Start by confirming that the controller boots normally. Check whether the LCD displays its expected native resolution and whether the image has correct colors and timing. Test the brightness and backlight, OSD buttons or controls, and each supported input.
If the display is black, first check the cables, power, panel configuration, and firmware compatibility. A white screen can indicate incorrect panel settings or timing. Flickering may also point to configuration or signal problems rather than a simple firmware error.
If the controller cannot detect the flash chip during SPI programming, check the connection and chip identification. A poor connection from a programming clip can produce unreliable results. An incorrect voltage or wrong memory-device selection can also cause programming errors.
When firmware verification fails, do not ignore the error. It may indicate a bad connection, unsuitable firmware, memory problem, or programming issue. Stop and diagnose the cause before trying another write.
If the controller becomes completely unresponsive, the original firmware backup may allow you to restore it. In more difficult cases, recovery pins, manufacturer tools, or professional repair may be required.
FAQ’s
1. Can I flash an LCD controller without a programmer?
Sometimes. If the controller supports a USB firmware-update function, a programmer may not be necessary. If the board requires direct SPI or another programming interface, appropriate programming hardware may be required.
2. Can I use firmware from another LCD controller?
You should not assume that firmware from another controller will work. Even boards with similar appearances can have different hardware revisions, memory devices, panel configurations or controller chips.
3. Do I need to back up the original firmware?
Yes, whenever the hardware and programming method allow it. A verified backup gives you a way to restore the previous firmware if the new software causes problems.
4. Why does my LCD show a white screen after flashing?
A white screen can have several causes, including incorrect firmware, panel timing, LVDS configuration, cabling or a hardware problem. Check compatibility and panel configuration before flashing again.
5. Can a bricked LCD controller be recovered?
In many cases, recovery is possible if the flash memory can still be programmed. An original firmware backup and a compatible SPI programmer can be especially useful. Some controllers, however, require manufacturer-specific recovery procedures.
Conclusion
Learning how to flash software on an LCD controller is mainly about preparation and compatibility. Identify the exact controller board, LCD panel, controller chip, hardware revision, and flash memory before selecting firmware. Whenever possible, create a backup of the existing firmware and use a trusted firmware source.
USB updating may be the simplest option for supported boards, while SPI programming can provide a recovery route when normal updating is unavailable. After flashing, always verify the resolution, image quality, backlight, controls, and inputs.
Most importantly, do not treat firmware flashing as a universal repair for every LCD problem. If the real fault is damaged hardware, a cable, power issue, or the LCD panel itself, new firmware will not solve it. Careful identification and testing are the keys to a successful update.